Welcome! If you’re new to AI-powered product description generation, or just starting to explore how to create better titles, descriptions, and SEO meta content, this guide will get you up and running quickly.
What to Expect
This tutorial walks you through the end-to-end flow for generating product content efficiently, including:
-
Dashboard overview
-
How to generate product content (title, description, SEO meta title, and meta description)
-
How to review and save content to your store
Dashboard
After installing the app, open it from your Shopify Admin. The first screen you’ll see is the Dashboard. It provides a summary of your recent generation orders, available credits,number of products generated and your current plan.

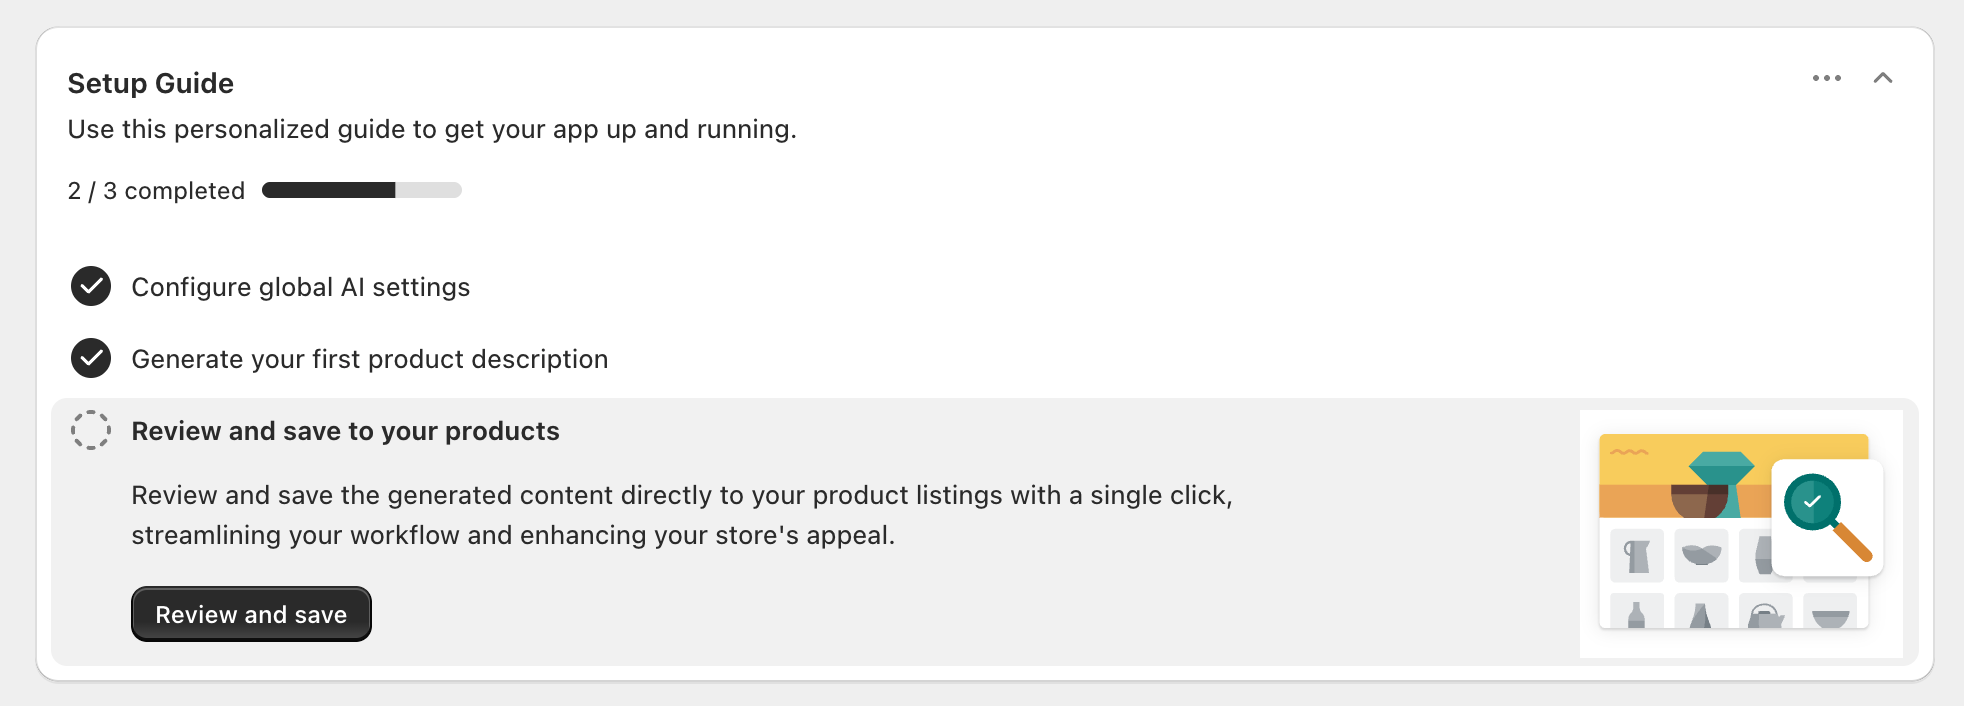
If you’ve just installed the app, you’ll also see a setup guide with a checklist to configure the app properly.
At the bottom of the app, there’s a Support section where you can start chat with our support team access the help desk and knowledge base.
Generate Product Content
At the top of the Dashboard, click the “Generate content” button to open the generation screen.
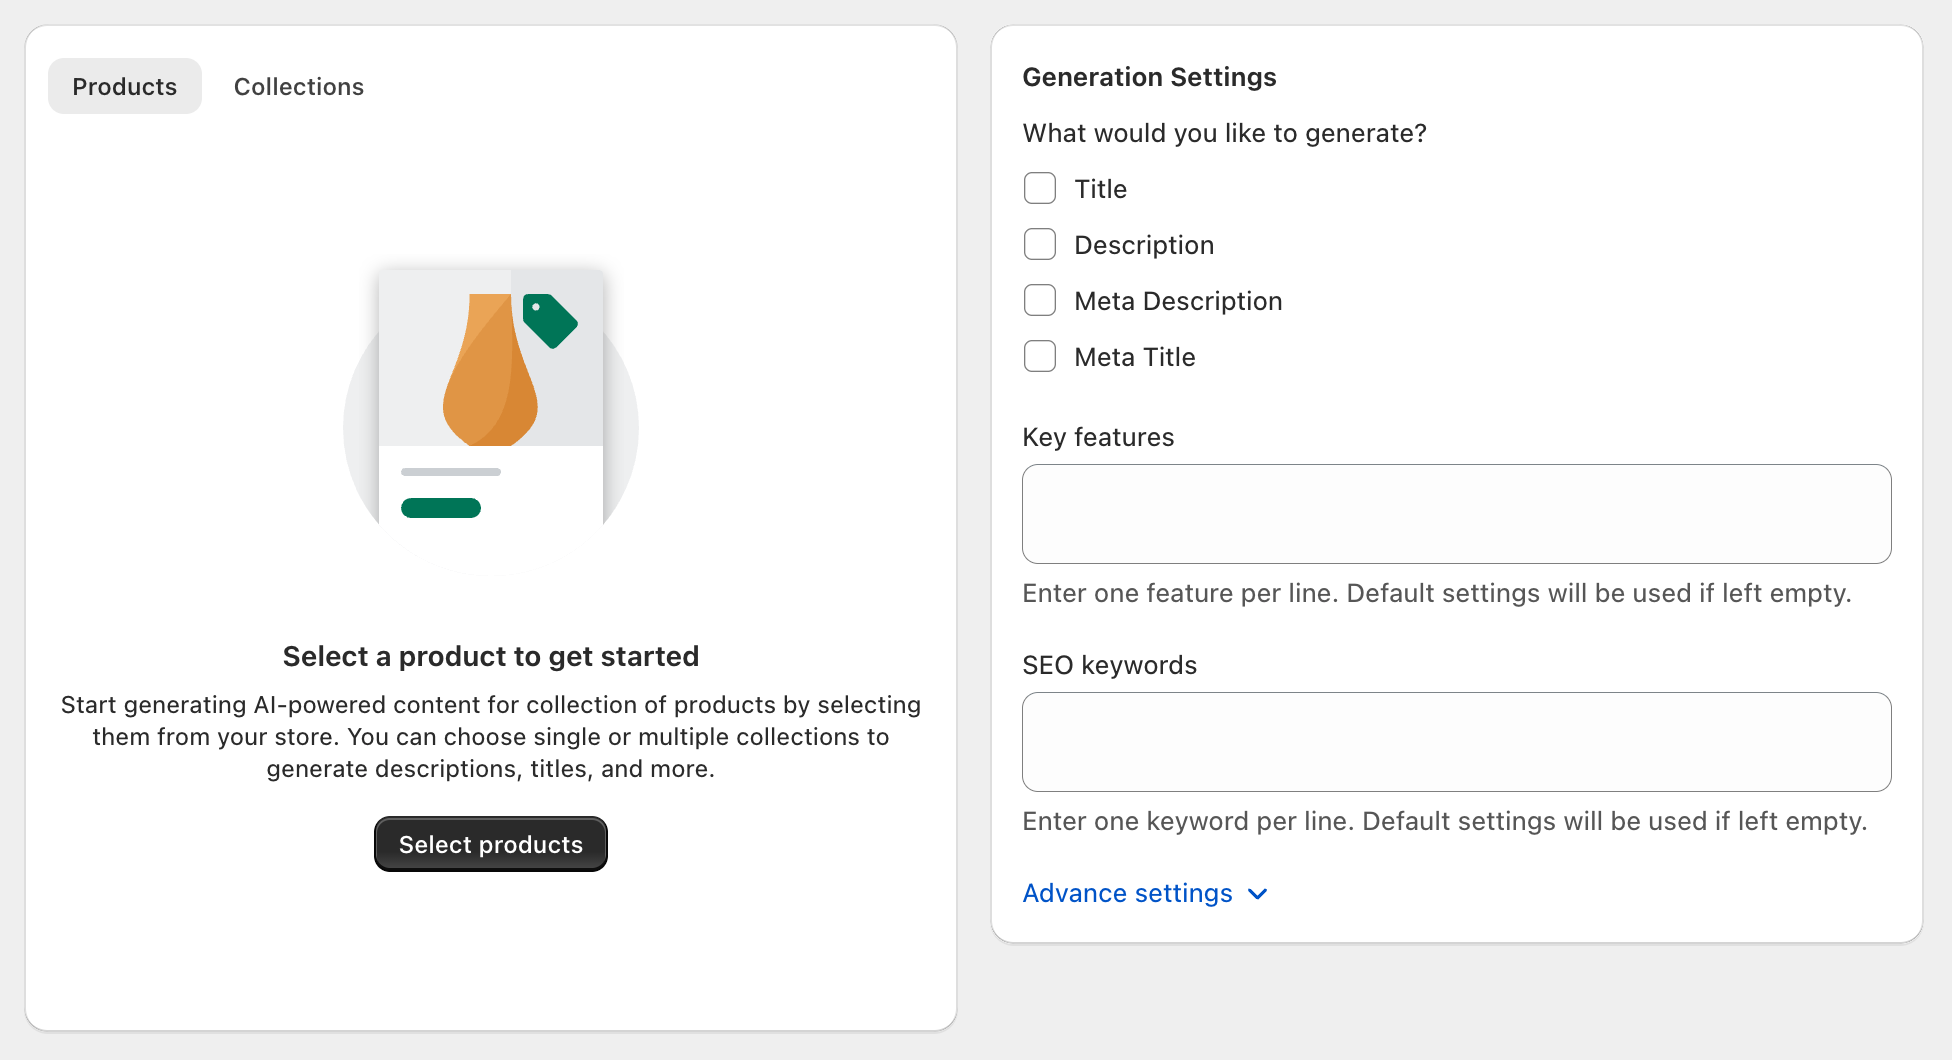
The screen has two main areas:
-
Left panel: Choose what to generate for (individual products or entire collections).
-
Right panel: Set generation options (basic settings and collapsible advanced settings).
Selecting Products or Collections
To generate for specific products, ensure the “Products” tab is selected, then click “Select products.” A selector modal will appear where you can filter and choose products. Click “Select” to confirm.
To generate for an entire collection, switch to the “Collections” tab and select the collection(s) you want.
Basic Settings
On the right side, choose what you want the AI to generate:
-
Attributes: Title, Description, SEO Meta Title, SEO Meta Description
-
Key features (optional): Provide unique selling points or specs. Adding these helps the AI produce more tailored and unique descriptions.
-
SEO keywords (optional): Add keywords you’re targeting. The AI will incorporate them naturally into your content.
Advance Settings
For most use cases, the basic settings are sufficient. Expand “Advanced settings” to further control:
-
Description length (short, medium, long)
-
Format (compact, standard or extended)
-
Tone (e.g., professional, playful, luxury, technical)
If you do not select advance settings, tour global settings will be used by default. To configure global defaults and learn about each settings view our settings documentation.
Submit for Generation
When your selections and settings are ready, click “Generate.” button located at the top of the page. This creates a generation order and takes you to the order page where you can track progress. Most generations complete quickly.
View Orders
The Order page lists all products included in your generation request, along with their status.
 Possible statuses include:
-
Pending: The product is queued for content generation.
-
Generated: Content is ready to review but not yet saved to your store.
-
Saved: Content has been saved to your store.
Review and Save to your store
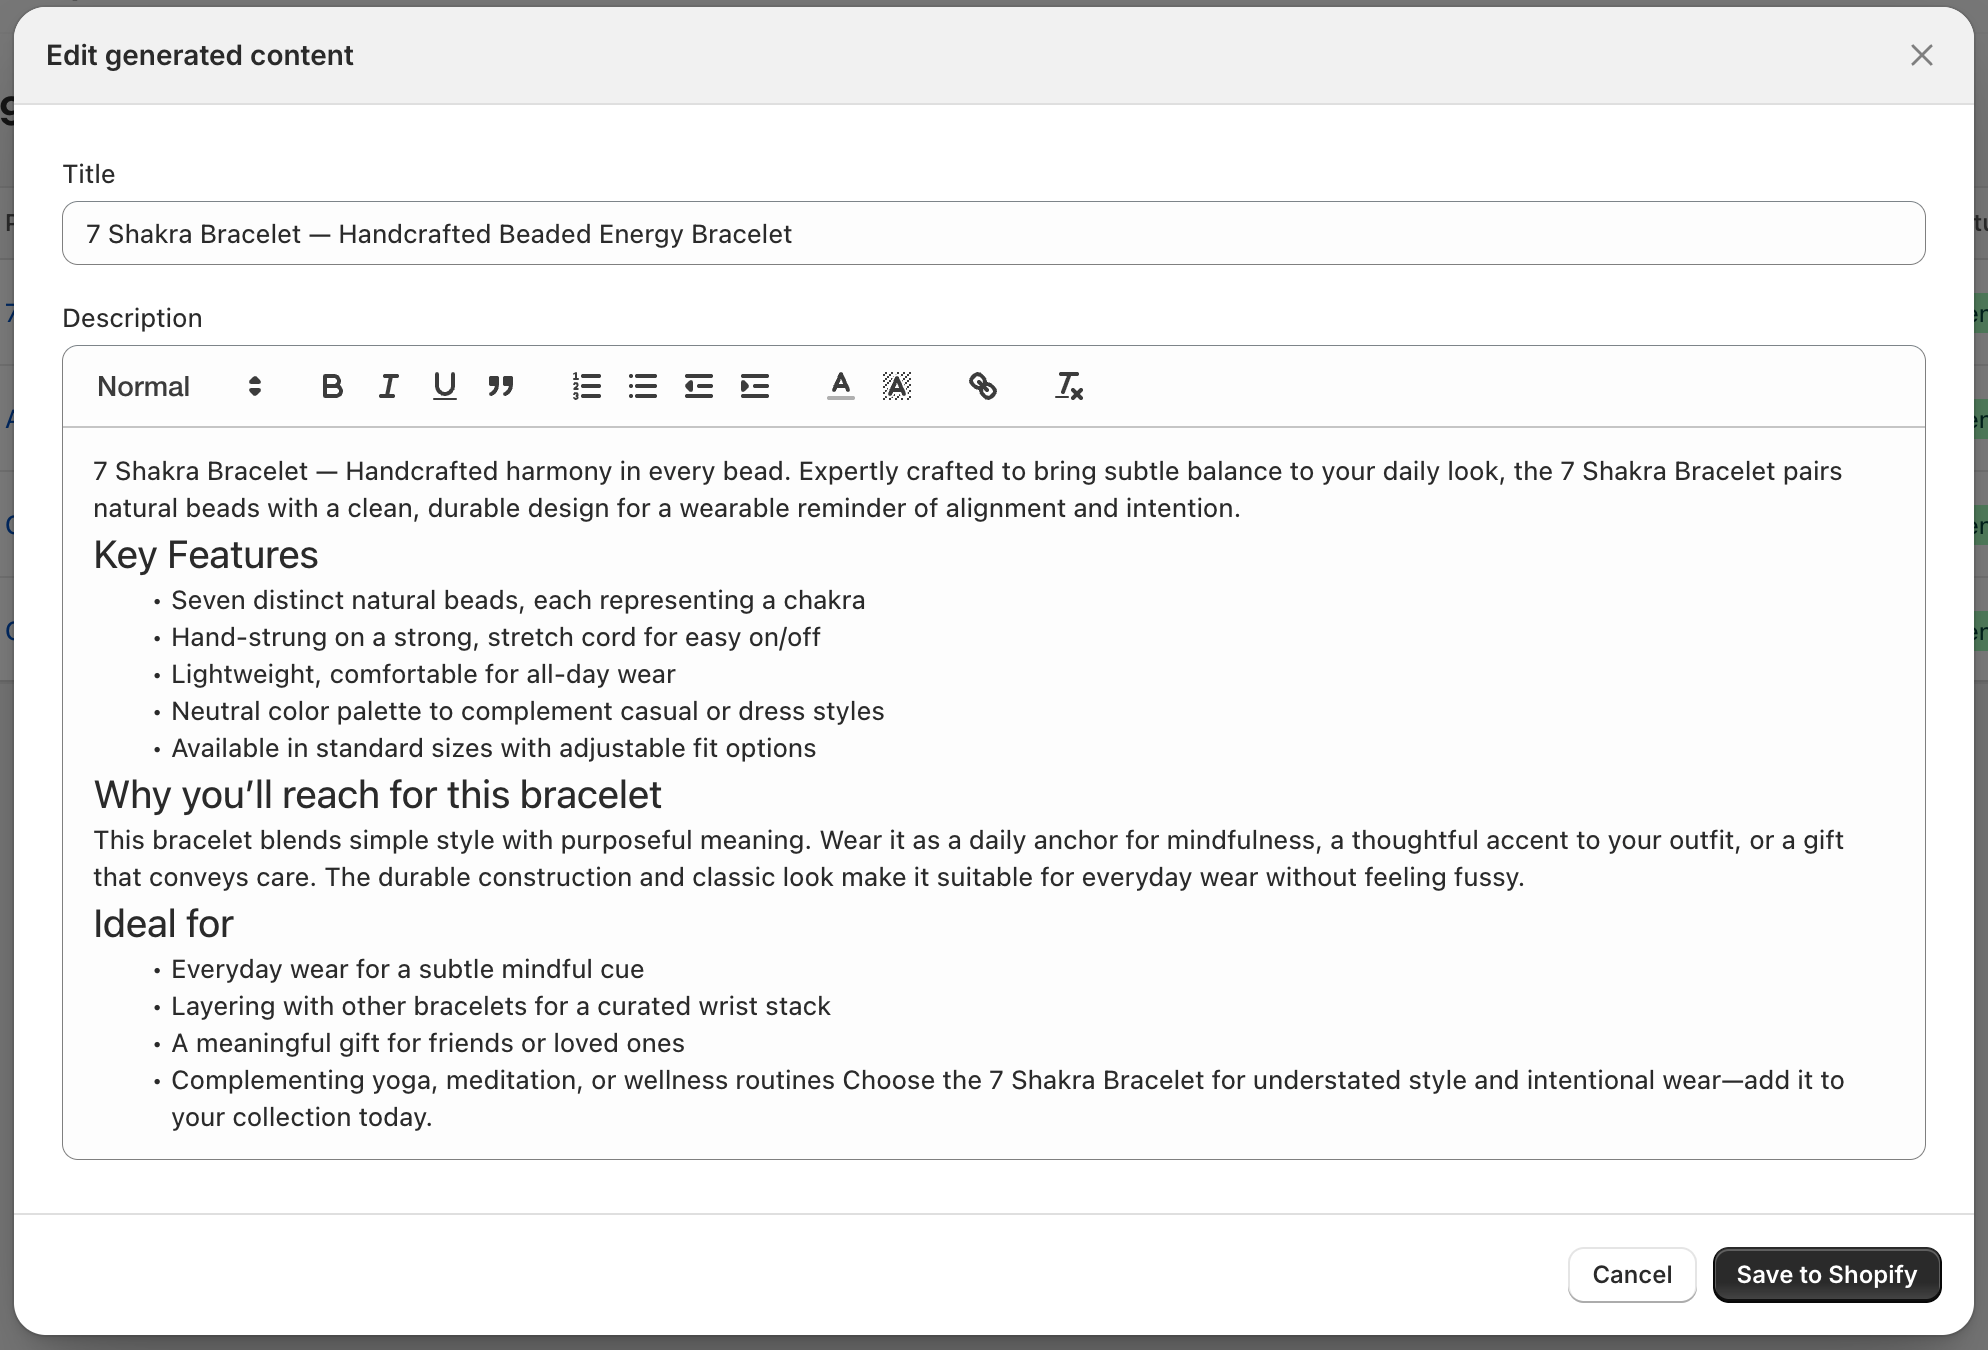
When a product’s content is generated, click “Save to Shopify” to open the review modal. You can:
-
Preview the generated title, description, and SEO fields
-
Make edits directly in the modal
-
Click “Save to Shopify” to update your product content
If you need to revert to your original content, you can restore the previous version from within the app. See the Restore section in the Help Desk for step-by-step instructions.
Next Steps
- TBD
If you need help at any point, use in-app chat or visit the Help Desk from the Support section.